OpenReceive for BTCPay Server
Receive Lightning payments straight into a wallet you control, with a receive-only NWC code. Optionally let payers pay with USDT, USDC, ETH or SOL through a Lightning Swap Connect provider, which converts these payments to BTC over Lightning in your connected wallet. Asset and network availability depends on the provider. Requires BTCPay Server 2.4.4 or later.
The whole setup in 30 seconds:
https://openreceive.org/assets/btcpayserver/basic-btcpayserver-demo-compressed.mp4
Install the plugin
Sign in to your BTCPay Server as a server administrator. If someone else hosts your server, ask them to install the plugin for you.
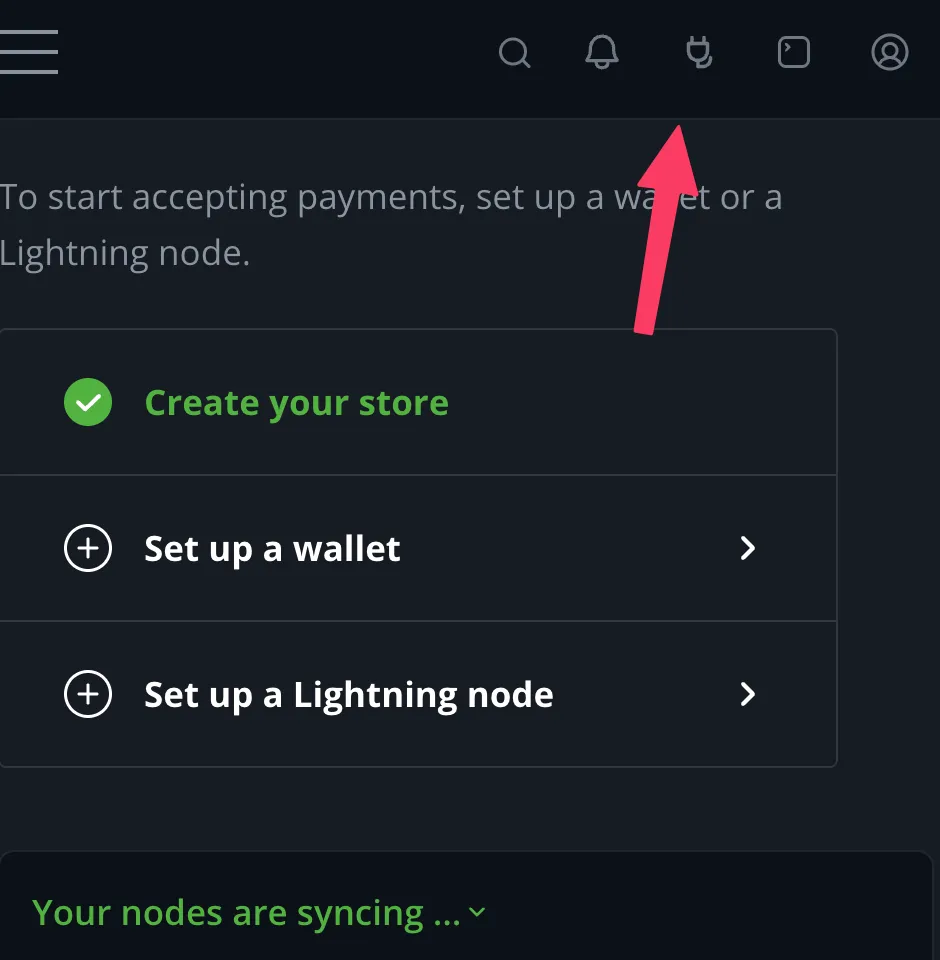
1. Open the Plugins menu — the plug icon in the top-right corner.
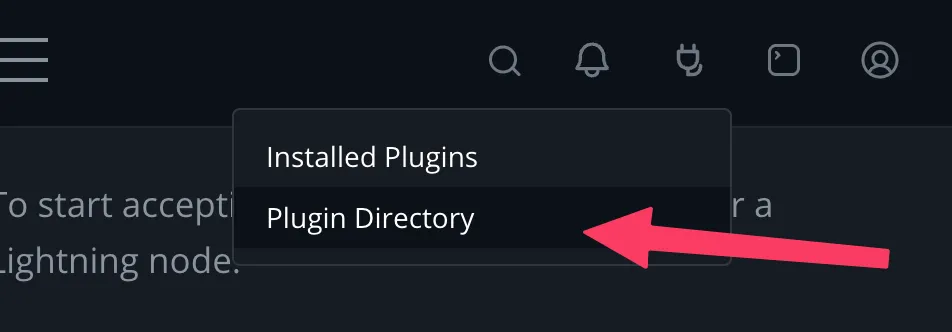
2. Click Plugin Directory.
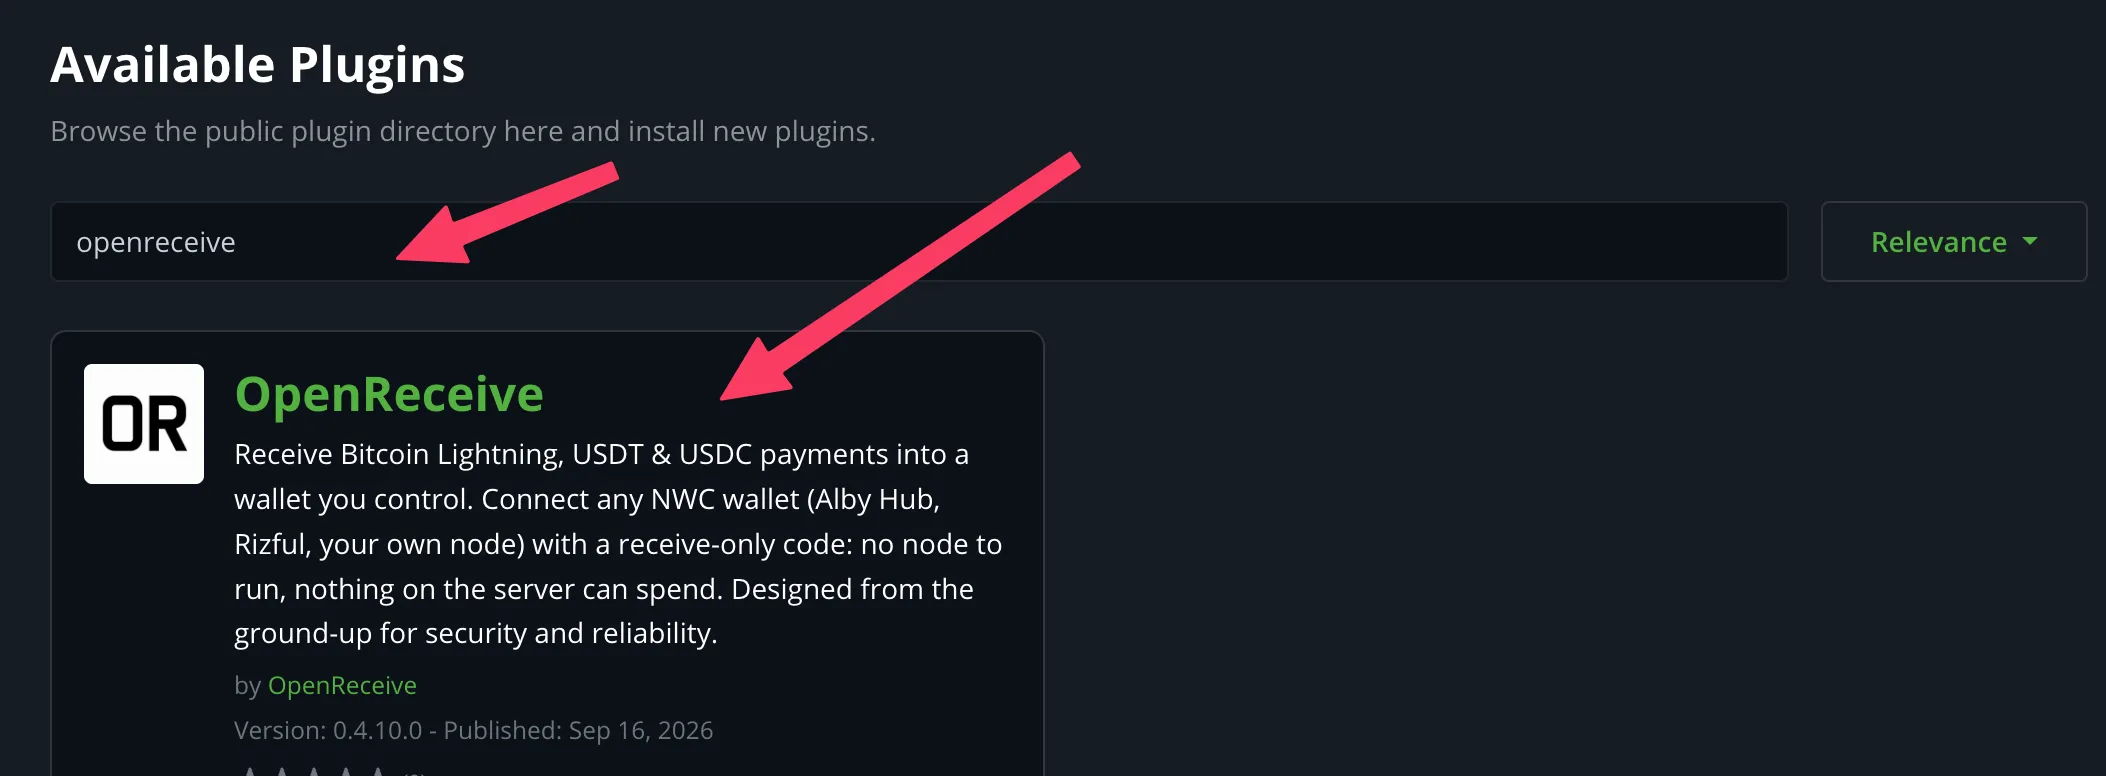
3. Search for openreceive and click the OpenReceive result.
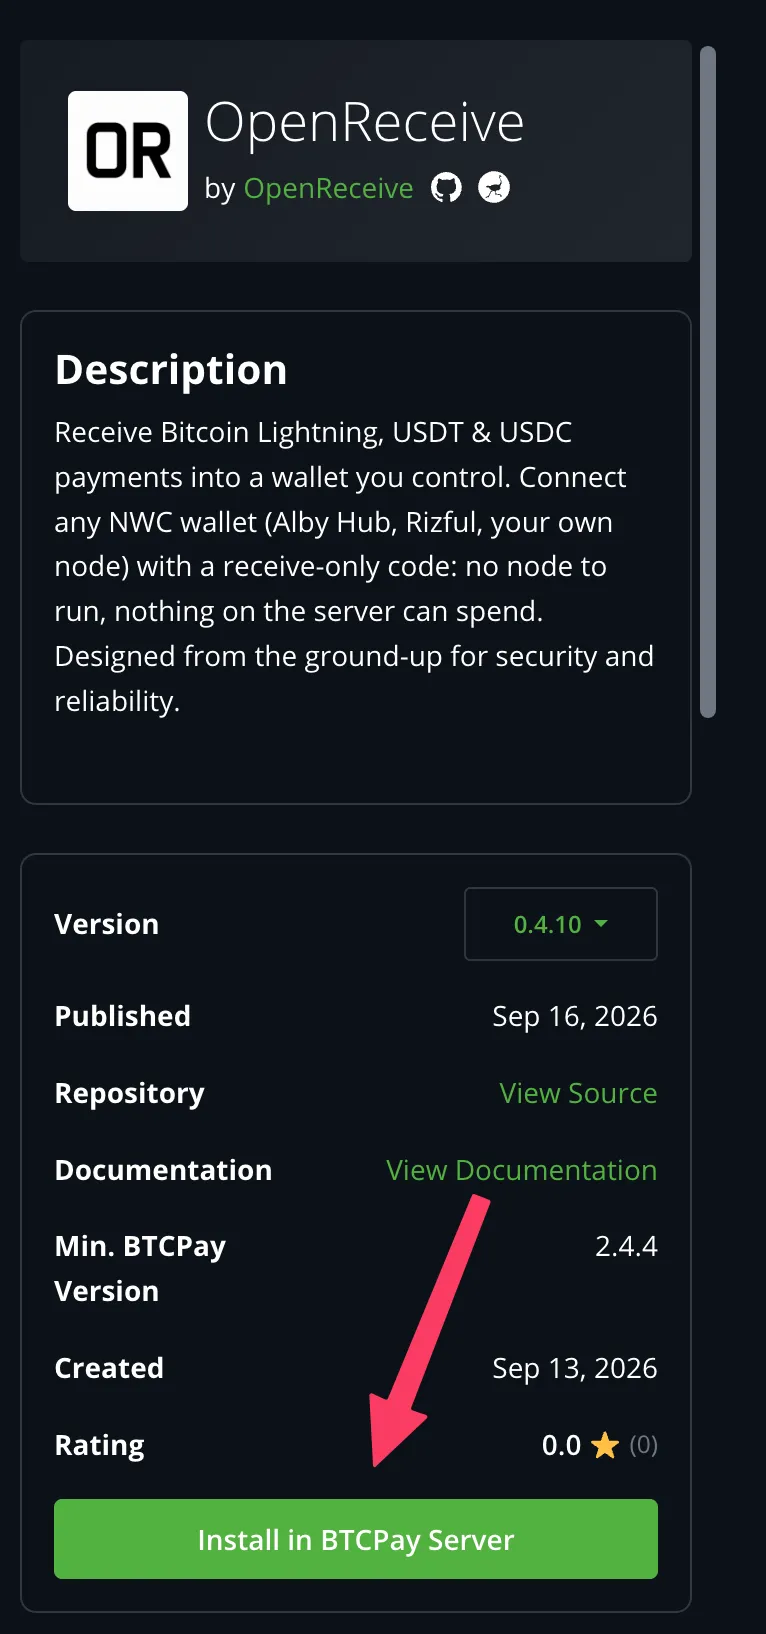
4. Click Install in BTCPay Server. Confirm when prompted, then click Restart now and wait for BTCPay to come back. Select your store and follow the setup below.
For the full quickstart, see https://openreceive.org/guides/quickstart-btcpay.
Setup
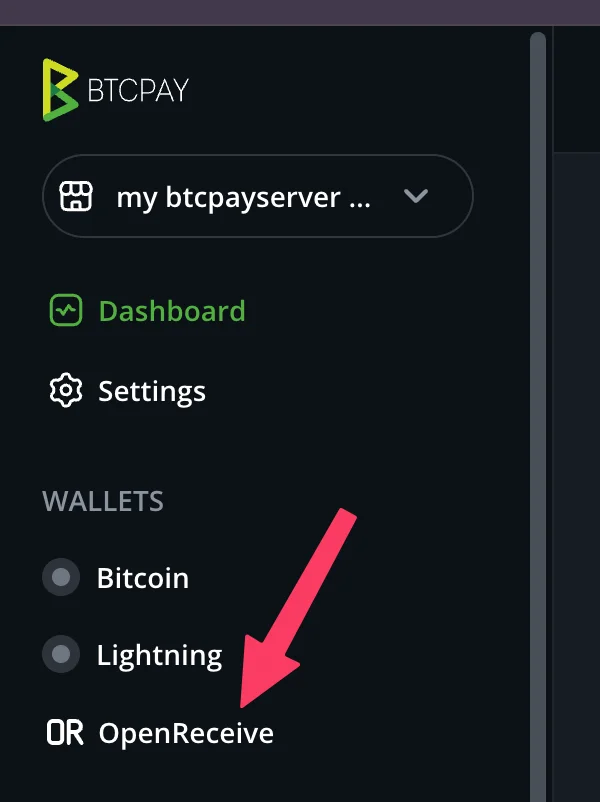
5. Open OpenReceive in the store’s sidebar, under Wallets.
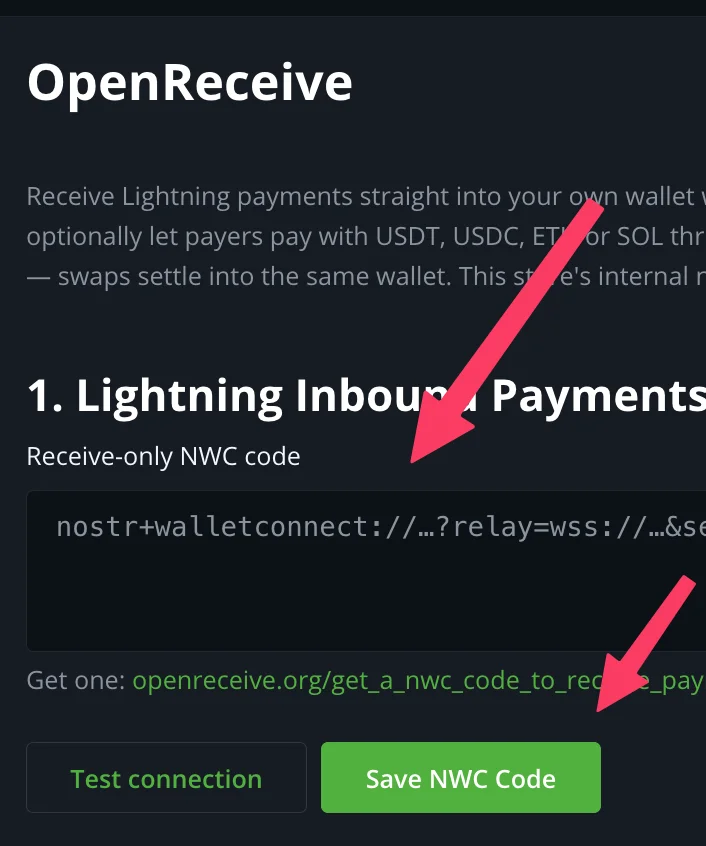
6. Paste your receive-only NWC code and click Save NWC Code. Test connection first if you want to see what the wallet supports. Get a code at https://openreceive.org/get_a_nwc_code_to_receive_payments.
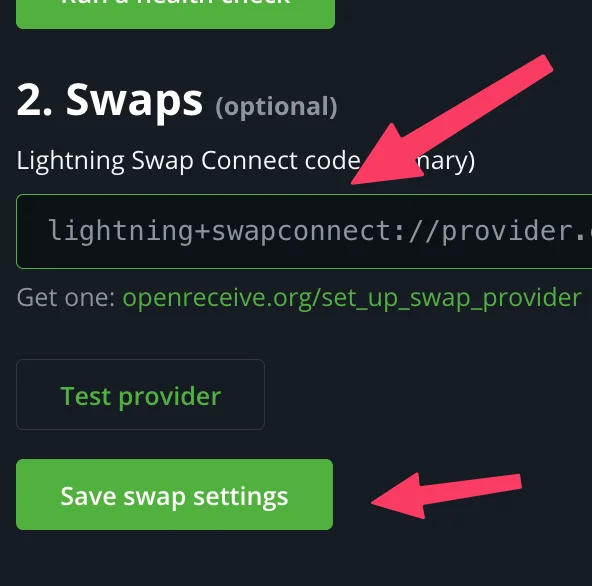
7. Optional: turn on swaps. Paste a Lightning Swap Connect code and click Save swap settings. Get one at https://openreceive.org/set_up_swap_provider.
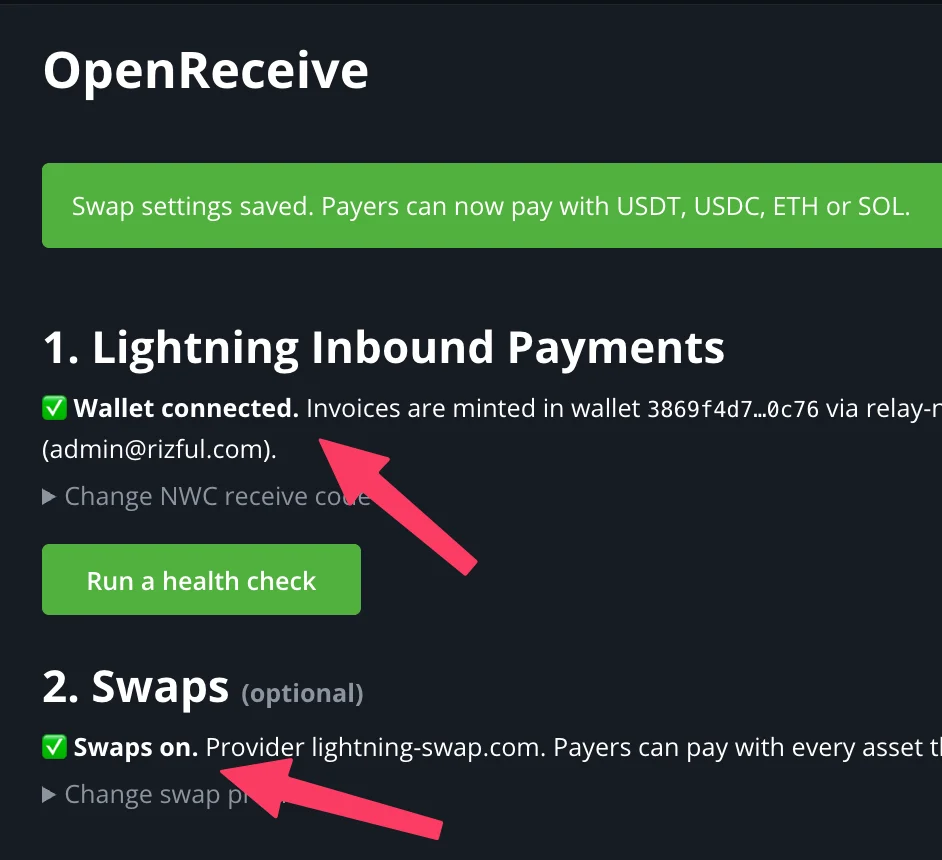
8. Done. The page shows Wallet connected and, if you set up a provider, Swaps on. Your wallet is now the store’s Lightning node.
Try it
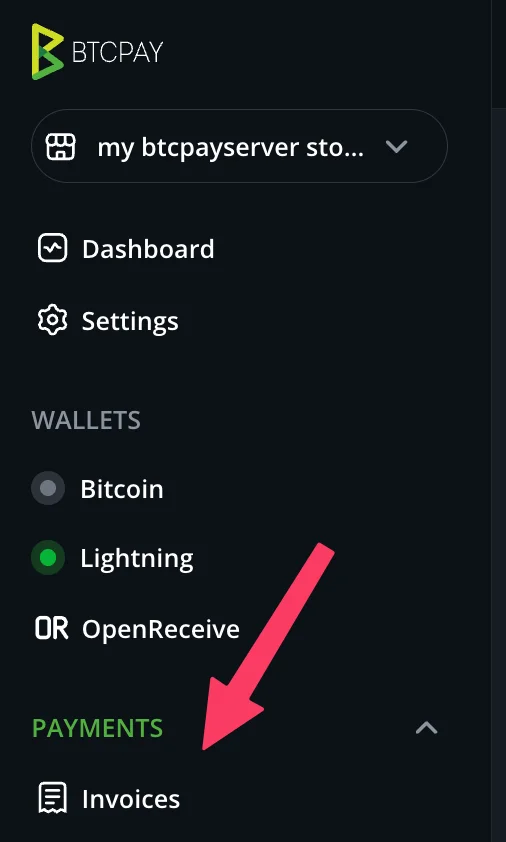
9. Open Invoices in the sidebar.
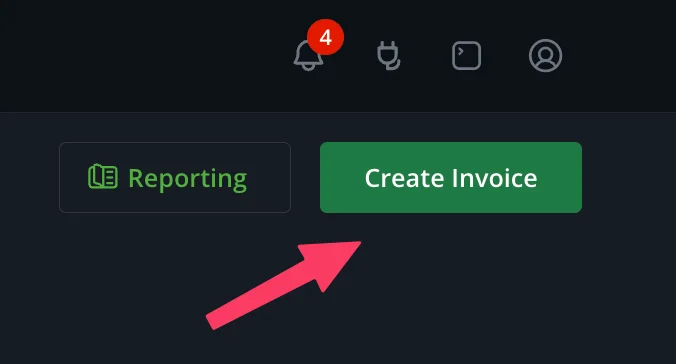
10. Click Create Invoice.
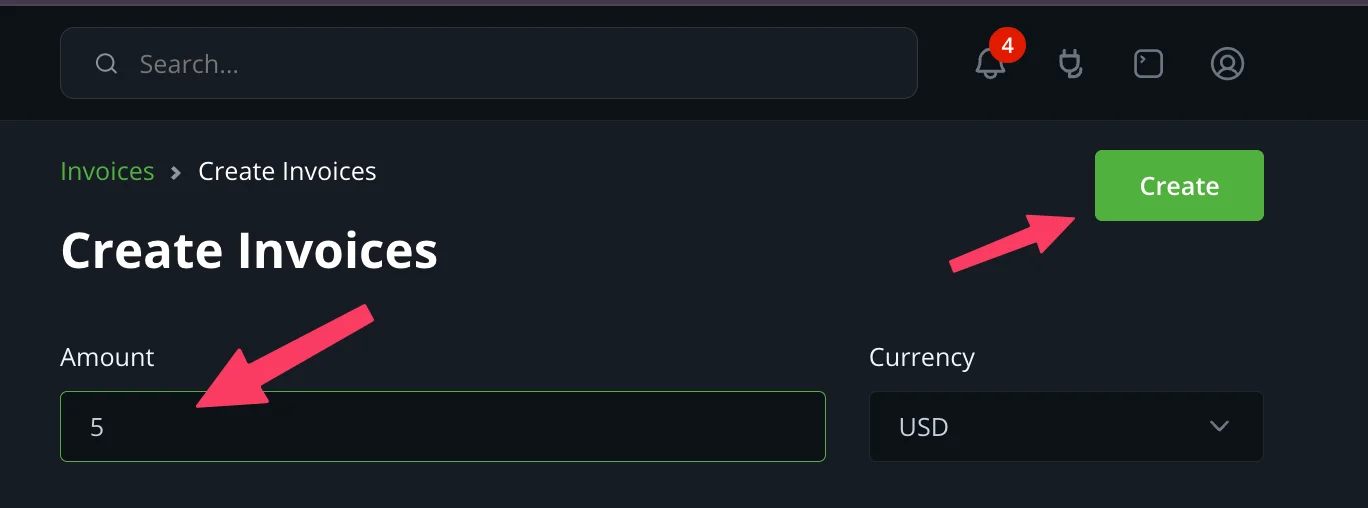
11. Enter an amount and click Create.
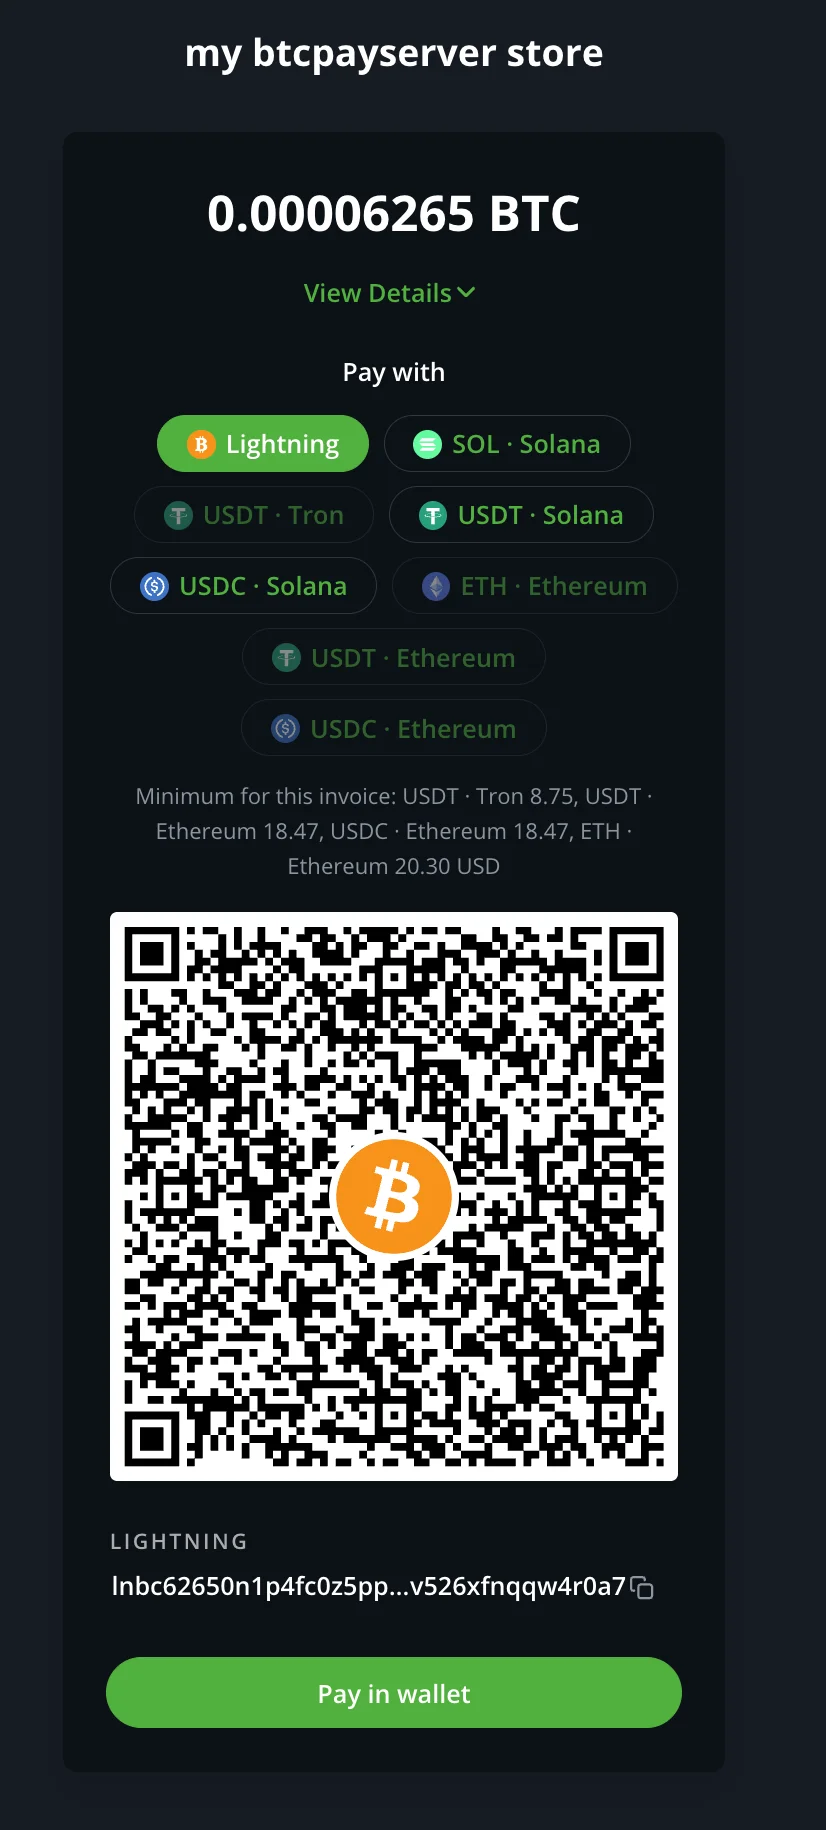
12. The checkout offers Lightning, plus one option per asset your swap provider supports. Lightning payments land in your wallet; swaps settle into it through the provider.
Good to know
- Receive-only. The plugin refuses an NWC code that can spend, and never calls a send method whatever the wallet grants. Lightning payouts and Lightning refunds are unavailable with this backend by design.
- Your wallet is the store’s Lightning node. BTCPay mints every invoice in it and records payments with its own settlement machinery. The internal node is never used.
- Run a health check on the OpenReceive page checks the connection, notifications, the provider and the invoice expiration, with a fix link on every failing probe.
Installing the plugin: https://openreceive.org/guides/quickstart-btcpay.
Every setting, Greenfield route, swap state and health probe:
https://openreceive.org/guides/btcpay-reference. MIT licensed; source at
https://github.com/OpenReceive/openreceive (packages/dotnet).
Payment recovery changes require a coordinated host/worker upgrade. See the payment safety upgrade and historical recovery procedure for additive migrations, selected legacy-account repair, retired swap refunds, and the provider budget scope.