BTCPay Server quickstart
Requires BTCPay Server ≥ 2.4.4.
The OpenReceive plugin makes a receive-only NWC wallet the Lightning node of a BTCPay store. BTCPay creates every Lightning invoice in that wallet. It records payments the same way it records any other payment. You can also let payers pay a BTCPay invoice with USDT, USDC, ETH or SOL through a Lightning Swap Connect provider. The swap pays into the same wallet. The store’s internal node is never used.
This is not the Node or Rails library. There are no hooks, no
openreceive_payments table and no OpenReceive HTTP routes. BTCPay’s own
invoices, checkout, webhooks and Greenfield API do that work.
1. Prerequisites
- A BTCPay Server, version 2.4.4 or later, on any network (mainnet, testnet, signet, regtest). The wallet must be on the same network.
- A receive-only NWC code for the wallet you want to receive into
(get one here).
The code must grant
make_invoiceandlist_transactionsand must not advertise any spend method.lookup_invoiceis optional. - Optionally, a Lightning Swap Connect (LSC) code from a swap provider, if payers should be able to pay with USDT, USDC, ETH or SOL.
2. Install the plugin
Sign in as a server administrator. If someone else hosts your server, ask them to install the plugin for you.
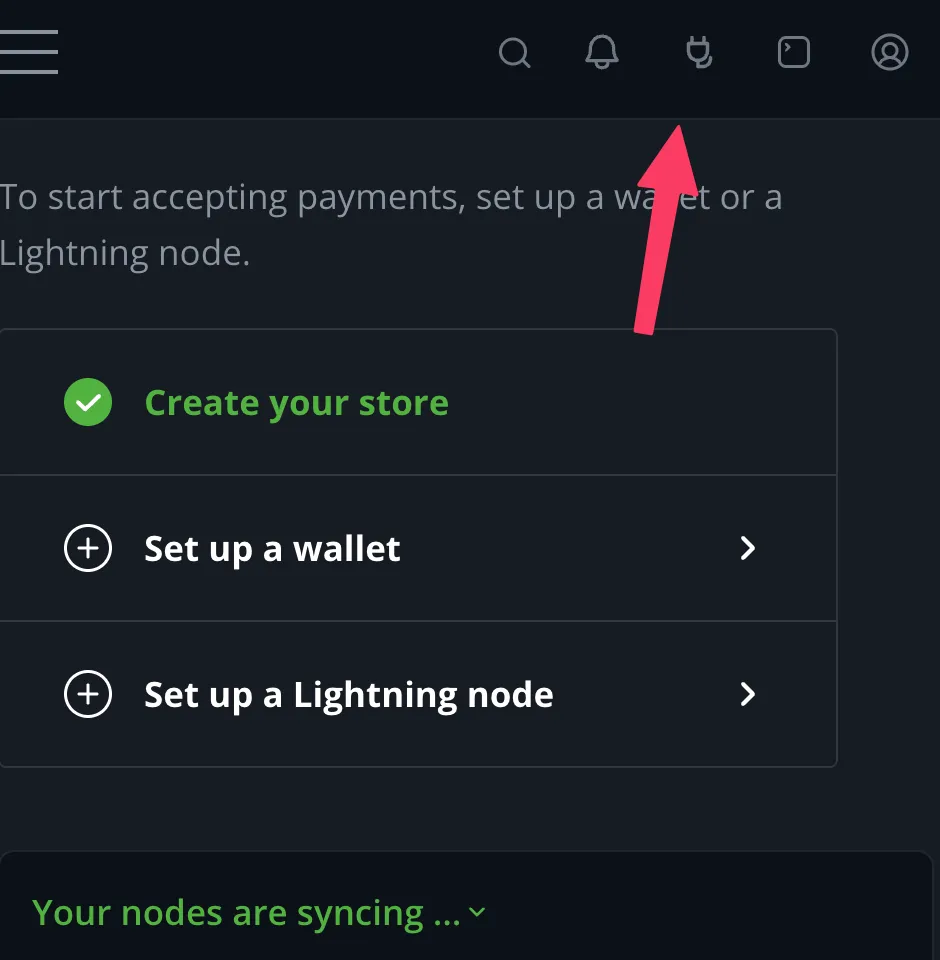
1. Open the Plugins menu. It is the plug icon in the top-right corner.
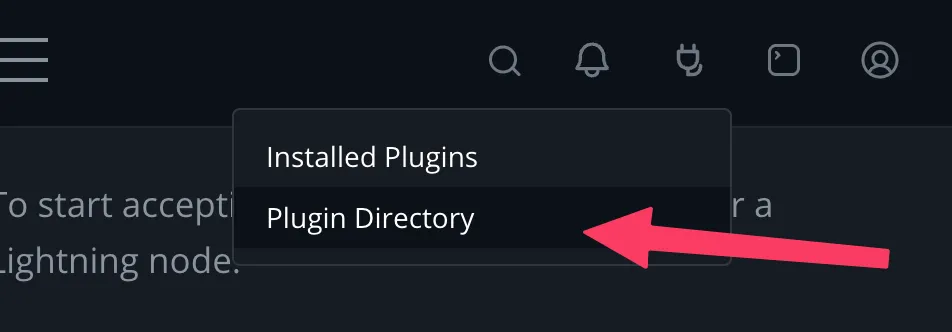
2. Click Plugin Directory.
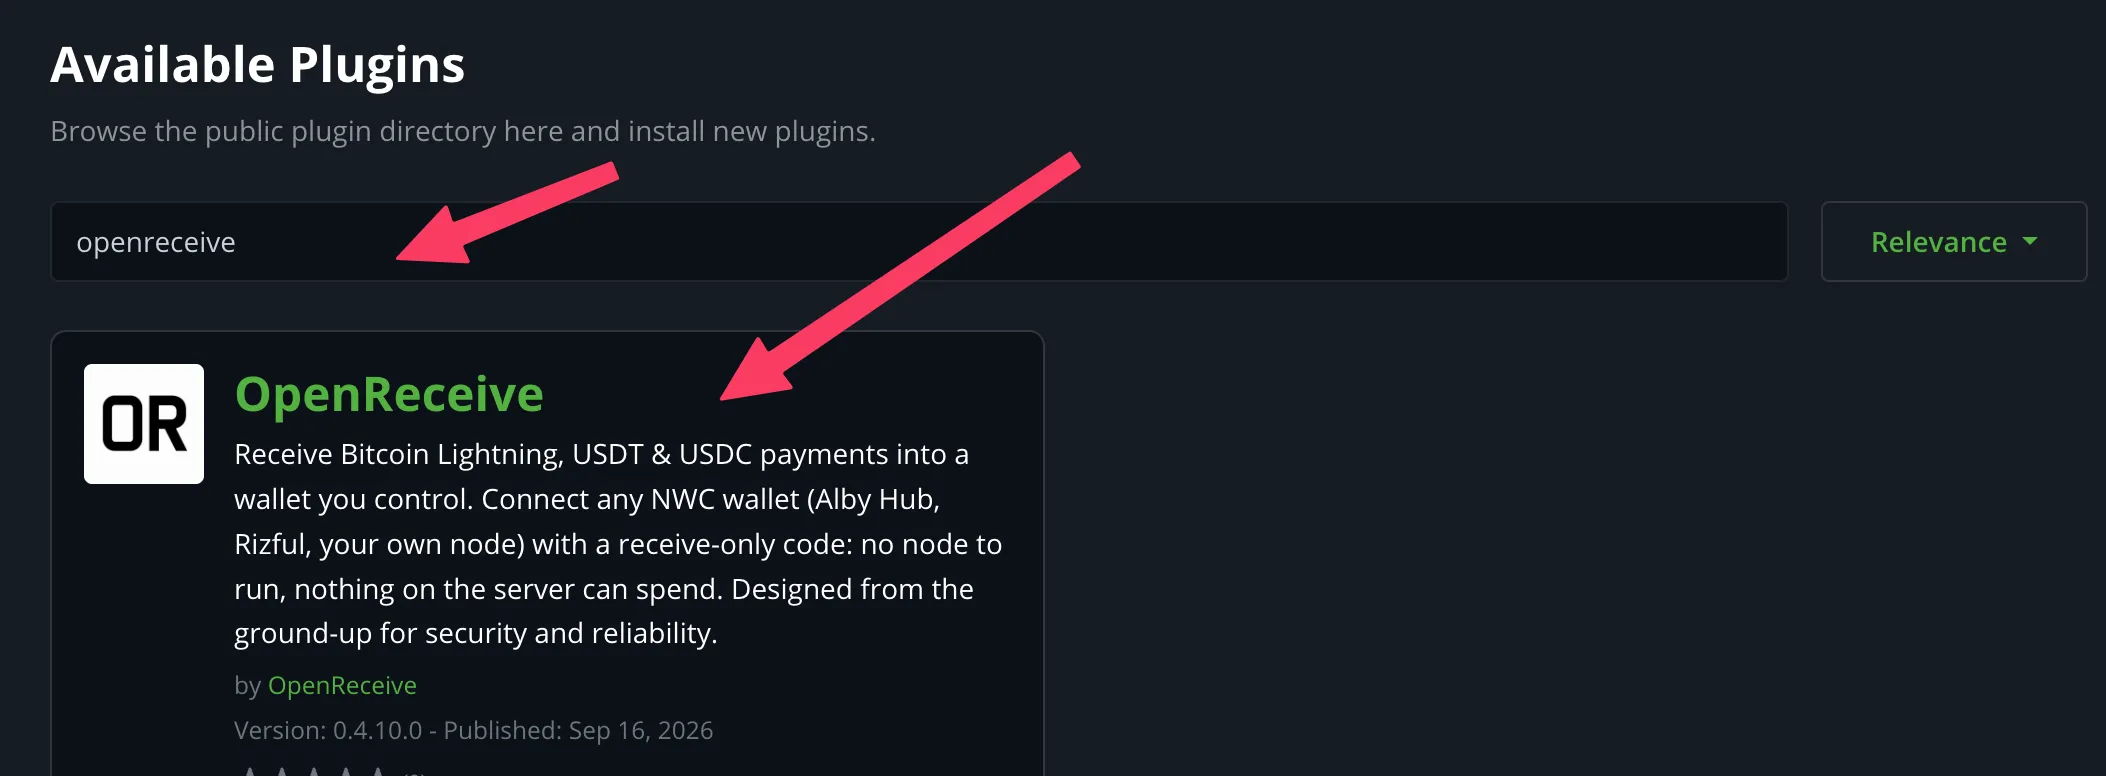
3. Search for openreceive and click the OpenReceive result.
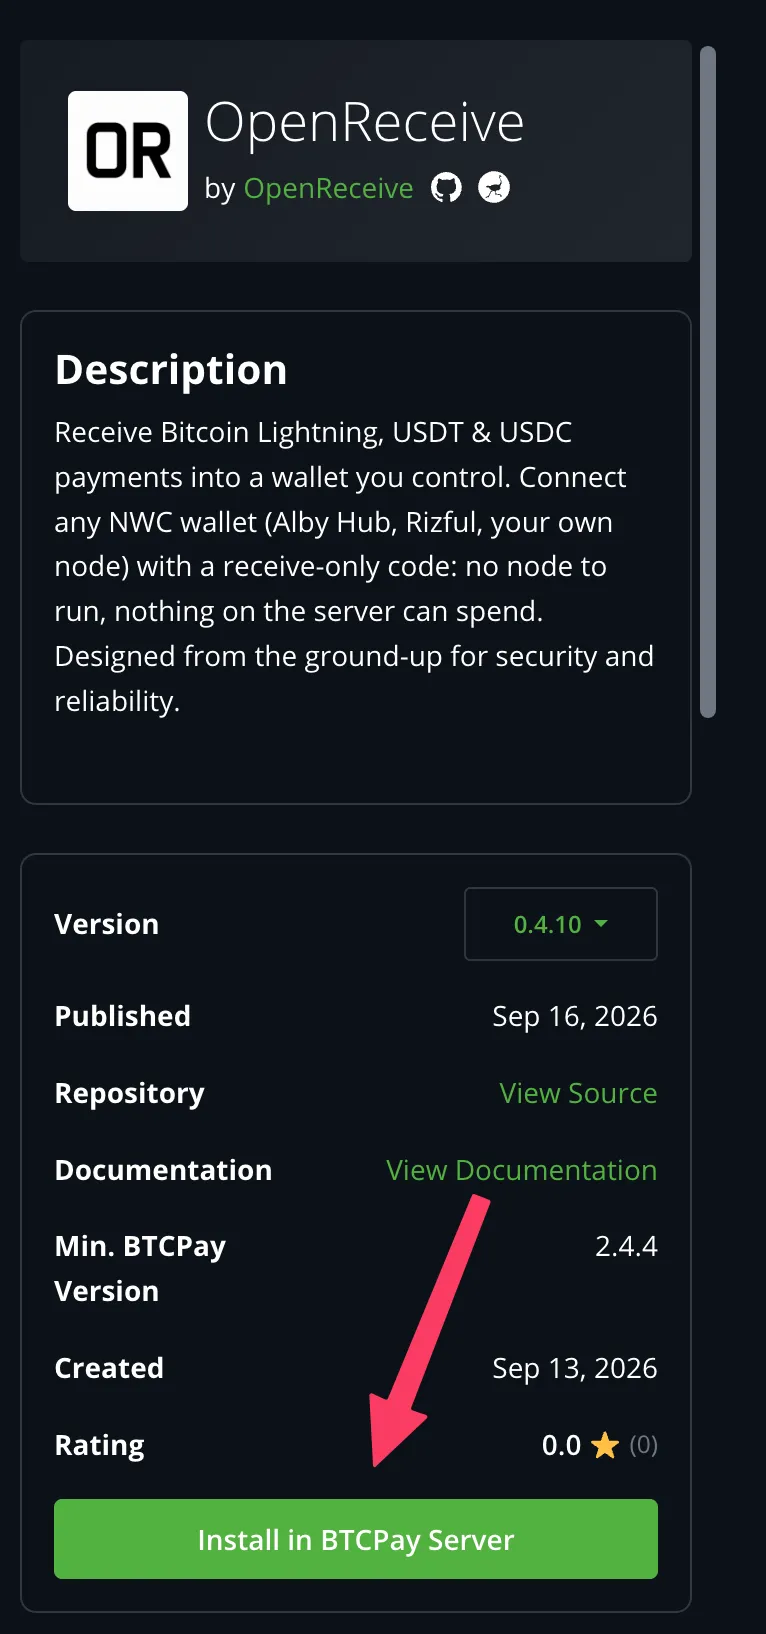
4. Click Install in BTCPay Server. Confirm when prompted, then click Restart now and wait for BTCPay to come back.
At startup, BTCPay creates the plugin’s two tables in its own Postgres
database: openreceive_invoices and openreceive_swaps, in the schema
BTCPayServer.Plugins.OpenReceive. Nothing else is created.
To build the plugin from source instead, follow the .NET workspace README.
3. Connect the wallet
- Select your store and open OpenReceive in its sidebar, under Wallets.
- Paste your receive-only NWC code. To see what the wallet supports first, click Test connection.
- Click Save NWC Code.
- To turn swaps on, paste a Lightning Swap Connect code and click Save swap settings.
The page then shows Wallet connected. If you set up a provider, it also shows Swaps on. There is nothing else to configure. You never open BTCPay’s Lightning node screen, and the plugin never reads the internal node.
Screenshots for each of those steps, and for creating a first test invoice, are in the plugin’s README.
The plugin refuses to save a code whose wallet advertises a spend method such
as pay_invoice. Create a receive-only code instead. If your wallet cannot
make one, there is an override, but using it is a deliberate choice and the
plugin logs it.
Turning swaps on raises the store’s invoice expiration to 60 minutes if it is shorter. A swap needs the invoice to stay open for at least 45 minutes.
4. Check it
Click Run a health check on the OpenReceive page. It runs every check right there:
- the connection
- the wallet preflight
- payment notifications
- the last wallet scan
- the swap provider and its assets
- the invoice expiration
- swaps that need a human
Each failing check comes with a link to the fix.
The BTCPay plugin reference lists every setting,
Greenfield route, swap state, log event and check. It also lists what the
plugin does not support by design: every send-side feature, top-up invoices,
and a bare nostr+walletconnect:// string in BTCPay’s Lightning node screen.
Next
- BTCPay plugin reference — every setting, route, state, log event and probe
- Security — why receive-only is the only wallet credential
- Lightning Swap Connect — what an LSC code is
- Automated swaps — the provider states and what turning swaps on commits you to